Get in touch
We are always excited to take on new projects and collaborate with innovative minds.
Phone
+2348140827580
Email
Website
Whatsapp
We are always excited to take on new projects and collaborate with innovative minds.
+2348140827580
Learn how to seamlessly integrate third-party APIs in your Node.js applications for powerful data access and functionality.

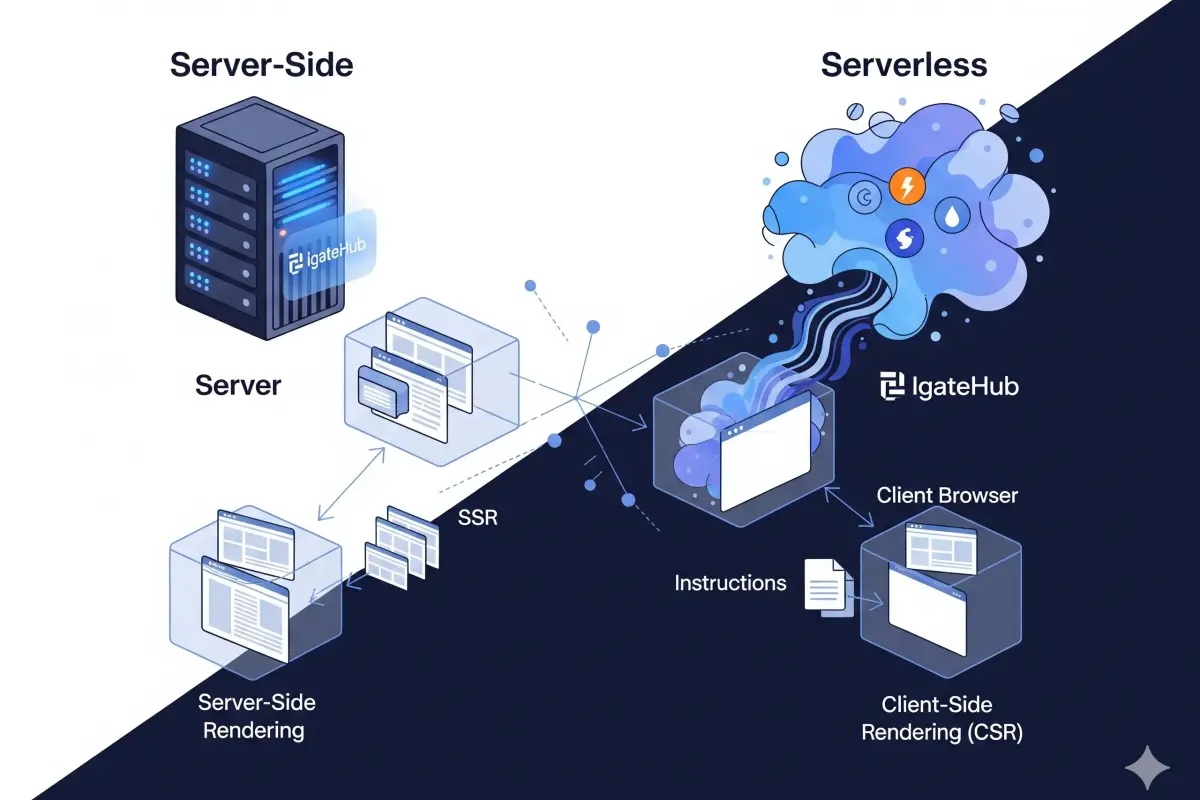
In today's interconnected digital world, no application is an island. From fetching real-time weather updates to processing payments, sending SMS notifications, or pulling data from social media platforms, almost every modern web application relies on communicating with external services. This communication happens through APIs – Application Programming Interfaces.
If you're building applications with Node.js, you're in a prime position to leverage the power of APIs. Node.js's asynchronous, event-driven nature makes it incredibly efficient at handling the input/output operations involved in making requests to external services.
This detailed guide will walk you through the process of seamlessly integrating third-party APIs into your Node.js projects, providing practical steps, code examples, and essential best practices to ensure your applications are robust, functional, and ready to connect with the world.
As we've discussed before, think of an API as a "digital waiter" or a "bridge." It defines the rules and protocols for how different software components or applications can communicate with each other. It allows your Node.js application to request specific data or functionality from another service, and that service to send back a response.
While there are many API styles, you'll primarily integrate with:
GET /users to retrieve users, POST /users to create a user).Node.js offers built-in modules for making HTTP requests, but for real-world projects, external libraries provide much more power and convenience.
http and https)http for HTTP, https for HTTPS) to make web requests. They are low-level and require more manual handling of requests, responses, and streams.These libraries abstract away much of the complexity, offering a cleaner, promise-based API for making requests.
async/await), supports all HTTP methods, automatic JSON transformation, excellent error handling, request/response interceptors, works in both Node.js and browsers. It's often the go-to choice.npm install axiosfetch API natively in Node.js, making it familiar for frontend developers. Promise-based.npm install node-fetchFor this guide, we'll primarily use Axios due to its widespread adoption and comprehensive features.
Let's integrate with a common public API for demonstration: JSONPlaceholder, a free fake REST API for testing and prototyping.
Create a new Node.js project folder:
mkdir my-api-integrator
cd my-api-integrator
Initialize a new Node.js project:
npm init -yThis creates a package.json file
Install Axios
npm install axios dotenv # dotenv for environment variables (crucial!)Create your main application file:
touch app.jsCreate an environment file:
touch .env2. Making a GET Request (Fetching Data)
This is the most common API operation: retrieving data from an external service.
app.js example:
require('dotenv').config(); // Load environment variables from .env file
const axios = require('axios');

async function fetchPosts() {
    try {
        const response = await axios.get('https://jsonplaceholder.typicode.com/posts');
        console.log('--- Fetched Posts ---');
        // Log only the first 3 posts for brevity
        console.log(response.data.slice(0, 3));
        console.log(`Total posts fetched: ${response.data.length}`);
    } catch (error) {
        console.error('Error fetching posts:', error.message);
        // More detailed error handling for specific status codes
        if (error.response) {
            console.error('Status:', error.response.status);
            console.error('Data:', error.response.data);
            console.error('Headers:', error.response.headers);
        } else if (error.request) {
            console.error('No response received:', error.request);
        } else {
            console.error('Error in setting up request:', error.message);
        }
    }
}

fetchPosts();
Explanation:
require('dotenv').config(): Loads any variables you define in your .env file into process.env.axios.get('URL'): Makes an HTTP GET request to the specified URL.await: Waits for the promise returned by axios.get to resolve before moving on. This makes asynchronous code look synchronous and easier to read.response.data: The actual data returned by the API (often JSON, automatically parsed by Axios).try...catch: Essential for handling potential errors (network issues, API errors, etc.).Use a POST request to send data to an API, typically to create a new resource.
app.js example (add to app.js after fetchPosts):
async function createPost() {
    try {
        const newPostData = {
            title: 'IgateHub - New Post Title',
            body: 'This is the body of the new post created via Node.js API integration example.',
            userId: 1,
        };

        const response = await axios.post('https://jsonplaceholder.typicode.com/posts', newPostData, {
            headers: {
                'Content-Type': 'application/json' // Important: Tell the API you're sending JSON
            }
        });

        console.log('\n--- Created New Post ---');
        console.log('Status Code:', response.status); // Should be 201 Created
        console.log('New Post Data:', response.data);
    } catch (error) {
        console.error('Error creating post:', error.message);
        // Same detailed error handling as above
    }
}

// Call both functions
fetchPosts();
createPost();
JavaScript
Explanation:
axios.post('URL', data, config): Sends a POST request with the data object.headers: { 'Content-Type': 'application/json' }: Crucial. This header tells the API that the body of your request is in JSON format.response.status: Check the HTTP status code (201 Created is typical for successful POST).Most real-world APIs require authentication to verify your identity and authorize your requests. Never hardcode API keys directly in your code! Use environment variables.
X-API-KEY header..env file:
API_KEY=your_super_secret_api_key_hereapp.js example (modified fetchPosts for demonstration):
// ... (rest of your app.js) ...

async function fetchPostsAuthenticated() {
    try {
        const apiKey = process.env.API_KEY; // Access API key from environment variables

        if (!apiKey) {
            console.error("API_KEY not found in .env file. Please set it.");
            return;
        }

        const response = await axios.get('https://api.example.com/secured/posts', {
            headers: {
                'X-API-KEY': apiKey, // Example for an API Key in a header
                'Authorization': 'Bearer YOUR_JWT_TOKEN_HERE' // Example for a Bearer Token (JWT)
            }
        });

        console.log('\n--- Fetched Authenticated Posts ---');
        console.log(response.data);
    } catch (error) {
        console.error('Error fetching authenticated posts:', error.message);
        // ... (error handling) ...
    }
}

// fetchPostsAuthenticated(); // Uncomment to test with a dummy secured API
Common Authentication Methods:
?api_key=...) or a custom HTTP header (e.g., X-API-KEY).Authorization header: Authorization: Bearer YOUR_TOKEN_HERE.Building resilient applications that interact with external APIs requires more than just making requests.
try...catch blocks for async/await or use .catch() for Promises.error.request in Axios) - when the server doesn't respond.error.response in Axios) - when the API returns an error status code (4xx, 5xx) and possibly an error message in its response body.error.message) - issues within your own code.async/await for Readability:async/await (introduced in ES2017) makes asynchronous code look and behave more like synchronous code, making it much easier to read and maintain, especially when dealing with multiple API calls..env files and libraries like dotenv to load them into process.env..env file is in your .gitignore to prevent it from being committed to version control.API integration is the cornerstone for many digital services thriving in Nigeria:
API integration is a fundamental skill for any Node.js developer. It unlocks a world of possibilities, allowing your applications to interact with countless external services and become part of a larger, interconnected digital ecosystem. By understanding the core tools, following best practices, and diligently handling errors, you can build powerful, robust, and functional applications that seamlessly integrate with the services your users need. At IgateHub, our API Development expertise is a core part of how we build intelligent, interconnected solutions for our clients. We ensure seamless data exchange and robust functionality for your next big idea.
Your email address will not be published. Required fields are marked *